Getting Started on the Solana Blockchain!
So you’ve heard about Solana, you’ve perused Twitter, the community is welcoming, and you’ve decided to dip your toes in, but you don’t know how to start.
Don’t worry. This guide will walk you through the basics of joining the Solana Ecosystem. Let’s get started!
Introduction
First, there was Bitcoin, the first decentralized cryptocurrency. It opened the gates to a new world of Web3 technologies. Next was Ethereum, a new cryptocurrency and blockchain ecosystem enabling developers to build and deploy decentralized applications (DApps). However, there were several issues; its speed and expensive transaction costs made it unusable for many people.
Solana Enters.
Founded in 2017, Solana has successfully tackled these issues, allowing anyone to transact on the network for a fraction of a cent!
How does this work?
It uses a blockchain model that combines Proof of Stake (PoS) and Proof of History (PoH), allowing it to process thousands of transactions per second.
In recent years, its number of users has rapidly grown. It has just exceeded $82 billion in total value locked (TVL), which is the total amount of crypto assets that have been deposited in a DeFi protocol, as of February 2024 and is up over $100, marking a 1000%+ increase from its previous low price at $8 in December 2022.
Solana is home to many exciting projects, such as Decentralized Finance (DeFi), Non-Fungible Tokens (NFTs), DApps, GameFi (combining gaming and finance), and much more.
So, how do you get started?
Getting a Solana Wallet
To get started, you need a non-custodial (self-custodial means you control it) Solana wallet. Some popular options include the Phantom Wallet, Solflare Wallet, Backpack Wallet, and Ledger Wallet.
The Phantom Wallet is highly recommended and available on mobile and PC/Mac.
How To Set Up Your Phantom Wallet:
Step 1: Go to the Phantom website.
Step 2: Download it and add the extension to your browser.
Step 3: Create an account or import your secret phrase if you have another wallet.
Step 4: If you are creating a new account, you will get a secret recovery phrase.
Please Note: Your secret recovery phrase (seed phrase) is your responsibility to keep safe. Phantom has no access to this phrase, so if you’re locked out of your wallet and lose your password and recovery phrase, you will lose your assets. Similarly, anyone who gains access to this phrase can take the contents of this wallet. So please do not save your password or recovery phrase in an email or on the Notes app on your phone. Storing the seed phrase offline or in a password manager is a safer option.
Step 5: Now that you’re all set up, you can add different accounts. These will also have their own unique wallet address. I personally like to have different wallets for different purposes, such as one for my NFTs, one for investing and so on.
Here’s a quick video guide I made on how to set up a Phantom Wallet:
How to Buy $SOL
Now that your wallet is set up, the next step is to acquire some $SOL. So you can start transacting on the ecosystem!
You can buy $SOL through a number of exchanges, including Binance, Moonpay, or Coinbase. In this post, we’ll focus on Binance.
How to Buy $SOL on Binance
Buying $SOL on Binance is as easy as buying anything on the internet. There are a number of other ways to do it, but to keep things simple, we’ve just covered the simplest method. Paying with your bank card.
Step 1: Go to the official Binance website.
Step 2: Sign up using an email, Google account, or Apple credentials.
Step 3: Add your email address.
Step 4: Solve the captcha, add an account code, and set a password.
Step 5: Convert your local fiat currency into SOL. Select the currency associated with your bank card. E.g. USD, EUR, GBP etc.
Step 6: Tap on ‘Buy Crypto’ and follow any prompts from your bank.
And you now have some $SOL! All that’s left to do is transfer it from Binance to your Phantom Wallet, and here’s how you do that in a few simple steps:
Step 1: Open your Phantom Wallet and click on the top where the name of your account is; three options are going to come up; click on ‘Solana’, and your wallet address will be copied.
Step 2: Go to Binance and check your new balance by going to your ‘Wallet’ and clicking Fiat and Spot>Deposit>Withdraw.
Step 3: Click on the ‘Withdraw’ option.
Step 4: Toggle it over to ‘Withdraw Crypto’
Step 4: Change the coin to ‘SOL’.
Step 5: Enter your Phantom Wallet address. You can copy this address straight from your Phantom Wallet. Verify the address’s first four to make sure it’s going to the correct address before proceeding.
Step 6: Ensure the network is set to SOL.
Step 7: Select how much you wish to withdraw. If you wish to withdraw all of it, click ‘MAX’.
Step 8: Select ‘Withdraw’ and complete the security verification requirements.
And it’s as simple as that.
For those visual learners out there, here’s a video guide I made on how to buy $SOL tokens on Binance:
Now, let’s talk about how to keep your assets safe.
Growing your $SOL
There are many ways to grow your SOL, but a guaranteed way is to stake it. Let’s dive into what staking means and how to do it.
Staking is simply the process of delegating your voting rights to a validator, and each Solana token has the right to vote on a transaction, whether good or bad. Essentially, you’re contributing to keeping the network awesome whilst earning a passive income. Staked $SOL yields an income of roughly 7–8%APY, depending on the validator you select.
It is entirely safe to stake your $SOL. A validator cannot take your $SOL.
How To Stake Your $SOL
Step 1: Go to your Phantom Wallet. If you’ve never staked before, there will be an option to ‘Start earning SOL’.
Step 2: Select which validator you wish to stake with. The estimated APY is shown on the right-hand side.
A quick trip to Solanabeach.io will show a list of validators when you tap ‘Validators’. If you tap on any validator, you will be able to see the details of that validator.
Step 3: Select the amount of SOL you wish to Stake. You can decide to stake the maximum amount of SOL in your wallet but remember; you will need a little bit of SOL to cover transaction fees, also referred to as ‘Gas Fees’. Transactions on Solana cost a fraction of a cent, so $1 worth of SOL should last a while.
Step 4: Click ‘Stake’, then sit back and relax, knowing your $SOL is staked and earning you rewards.
If you get stuck, here is a video going into more detail:
You can unstake your $SOL at any time. Just click on the Stake Account, and click ‘Unstake’. It will then start deactivating. It will continue to deactivate until the end of the epoch. To see when the epoch will end, head over to Solanabeach.io.
Once the Epoch is over, it will appear as ‘Inactive’ in your staking account.
Simply click on it, then select ‘Withdraw Stake.’
Now, let’s look at how you can get involved in the ecosystem.
Decentralised Applications (DApps)
Decentralised Applications (DApps) are like normal apps, but they’re built using smart contracts and run on the blockchain.
Smart contracts are programs that run on the blockchain to execute transactions when necessary conditions have been met automatically; these allow transactions to happen faster and more transparently.
The main goal of DApps is to provide greater freedom and ownership over user data than traditional web apps. Because they’re decentralised, there’s no single point of failure, which makes them more secure and censorship-resistant than their centralised counterparts.
DApps are accessible, just like any normal website — through your desktop or mobile web browser. However, you connect using your crypto wallet instead of logging in with email addresses or phone numbers. Once you’re connected, you can use your wallet to interact with all the DApp’s functionality.
Here’s a beginner-friendly video to help get you started with DApps and DeFi:
Decentralised Finance (DeFi)
Decentralised finance, or DeFi, allows you to access all the services of the traditional financial system, such as borrowing, lending, and trading, but without the need for intermediaries like banks or financial institutions. You can borrow, lend, and trade crypto without relying on any third party.
Decentralised Exchanges (DEX)
Usually, the first step in a crypto beginner’s journey involves a centralised exchange (CEX) to convert their fiat currency to crypto. While CEXs can feel easy and intuitive, they’re not the safest for storing your funds since the company behind the service can lose or block your access.
Decentralised exchanges, or DEXs, are the solution to this problem. DEXs rely on smart contracts to facilitate peer-to-peer trades, so you can trade crypto while retaining full control of your assets without having to trust a third party. A highly recommended DEX is Jupiter Exchange.
Getting Started With Jupiter Exchange
A decentralized exchange such as Jupiter gives you the ability to trade tokens from one token to another, all by connecting your wallet.
Jupiter Swap is the most popular aggregator on Solana, offering the best prices for your trades.
If you anticipate being away from your PC and expect a token’s price to dip, you can set limit orders on your favourite tokens.
Here’s a video guide on how to do that:
Lending and Borrowing on Solana
You can lend your crypto to earn an APY (annual percentage yield) and borrow crypto by using your lending asset as collateral. For example, if you have some $SOL and you want some $USDC, you can lend $SOL and borrow $USDC on dApps like Kamino Finance and Marginfi.
Since cryptocurrencies are volatile, I only borrow 30 to 40% of the deposited value. For example, if I lend $100 worth of $SOL, I’ll only borrow a maximum of 30 to 40 $USDC to avoid liquidation of my $SOL.
Here’s a video guide on how to do that:
Liquid Staking on Solana
Before delving into liquid staking, let’s first understand the limitations of native staking. When you stake your $SOL with a validator, and if you want instant liquidity, you would have to unstake your $SOL and wait for the current epoch (around 2.5 days) to end before you can withdraw your $SOL.
Liquid staking solves this issue. Popular liquid staking protocols on Solana include JitoSOL, Marinade Finance, and SolBlaze.
You receive liquid-staked SOL tokens by staking your $SOL with liquid staking protocols. For example, if you stake your $SOL with JitoSOL, you receive $JitoSOL. Now, your $SOL is staked, and you can participate in DeFi activities with your $JitoSOL. Liquid staking improves DeFi activities on Solana while decentralizing the network by staking your $SOL.
You can unstake your SOL by waiting for 1 day or swapping your $JitoSOL directly into $SOL on Jupiter.
Here’s a video guide on how to do that:
Risks in DeFi
Before diving into the various DApps and DeFi opportunities on Solana, it’s important to be aware of their risks.
Major exploits have happened across chains like Ethereum and Solana. Some of them include SushiSwap ($3.3M exploit), Curve Finance ($62M), Wormhole Bridge ($320M), and Slope mobile Wallet ($4M).
Projects such as Superteam Earn conduct audits and offer bug bounties to identify issues, but problems can still occur, sometimes resulting in major exploits and theft. So, it’s important to learn about past exploits.
Another important thing to note is that, when it comes to liquidity providing in DeFi, ‘Impermanent loss’ is a concept you MUST familiarise yourself with.
Simply put, impermanent loss is the loss in value of your liquidity share if an asset price changes. It’s called impermanent because it can recover if prices revert. But withdrawing before the price reverts makes the loss permanent.
How to Research Risks:
1. Check all links without clicking on them
2. Find out the team
3. Check for an audit
4. Check sentiment on Twitter. You can do this by simply typing in the project, adding “scam” next to it in the search bar, and perusing the engagements under the project.
5. Risk only what you can afford to lose
6. Use a dedicated wallet address for new or riskier dApps
Here’s a video guide on how to do that:
Setting Up Your Web3 Social Identity
Setting up your Web3 social identity is important, and how you do that is even more important.
Creating your Twitter profile is the first step in creating a Web3 social identity. And here are my suggestions. These apply whether you’re an individual or a project. Firstly, let’s discuss your name. My Twitter name is Seb Montgomery, and my username is SebMonty. Avoid using underscores or characters that are hard to find, pronounce, or spell when possible. Additionally, while this is my real name, I suggest staying anonymous.
Next, you’ll want a brief bio. Keep it short and simple; you’re not writing a story, just stating who you are. The most important aspect is consistency, especially with your profile picture (PFP). I think to select a profile picture or personal image that you’ll use consistently across all platforms. This reinforces your identity or brand, akin to a recognizable logo like McDonald’s or Apple. If you use different PFPs everywhere, people won’t recognize you.
Here’s my profile picture. I have a Twitter banner here, keeping it nice and simple.
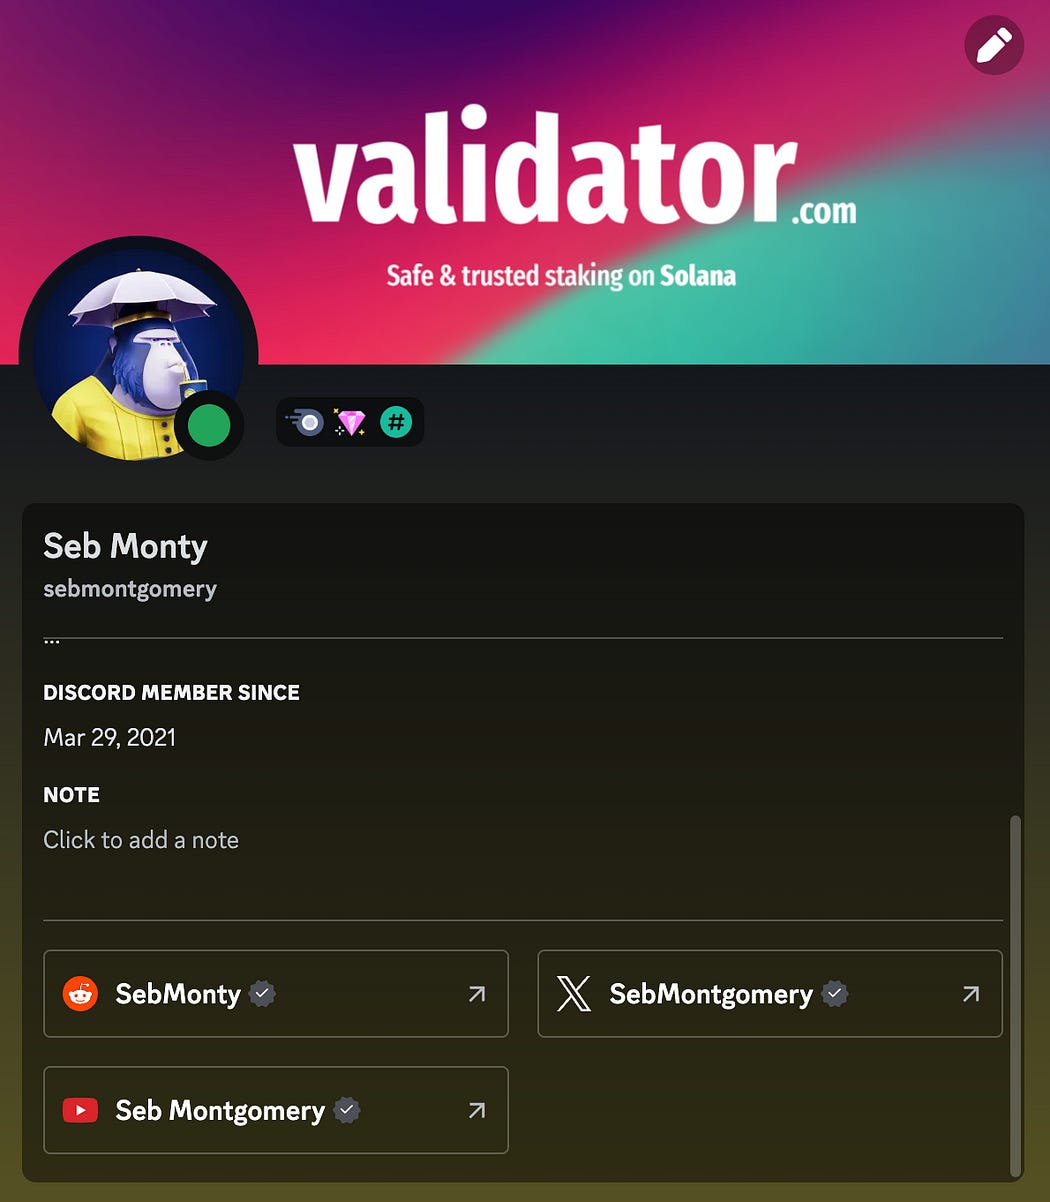
Now, what about connecting with people? Discord is used — it’s a Web2 solution, but it’s still the best. So, this is what we use until something Web3 comes along. Once again, keep your identity, username, and display name consistent and cohesive.
If you take a look at my profile, you’ll see all the information you need. At the bottom, I always suggest linking at least your Twitter. I have my Twitter linked here, along with my YouTube and Reddit. It’s beneficial in many ways. If you’re a creator or seeking employment, you should link to your portfolio or GitHub. If you’re active in multiple Discord servers, you may want to consider getting Discord Nitro. This allows for different server profiles.
Finally, we have Telegram. The same thing applies here — keep everything consistent. Telegram is used a lot in crypto and Web3, and it’s used a lot at conferences when you need to DM someone.
Here’s a video guide on how to do that:
Getting into NFT Communities
Your network is your net worth in crypto. Being in a room with four people smarter than you makes you smarter. Crypto prices may go up and down, but in the end, the friends you make along your Web3 journey will help you go a long way and be more successful.
Here are some popular NFT communities on Solana:
Degen Ape Academy, Solana Monkey Business, Claynosaurz, Mad Lads, Tensorians, and Famous Fox Federations are some of the popular NFT communities on Solana. Most of these NFT communities have a supply between 5,000 to 10,000.
There are 1/1 exclusive communities such as The Barrows, Dead Kings Society, and Boogle. The supply of these NFTs ranges from 100 to 500, and these groups charge a premium due to their low supply. Connecting with the community is also easier as the holders are small.
Top NFT Marketplaces on Solana
Solana is home to some of the best NFT marketplaces. The most popular marketplaces are Tensor, Magic Eden and Solsniper.
Magic Eden is user-friendly for beginners, and Tensor is for traders. Sniper has great tools to snipe rare traits and has slightly lower fees than the others.
Most of the community activities happen on Discord, and access to the communities is gated. This means you can only access the communities if you hold and verify the NFTs.
You can buy/sell NFTs by connecting your wallet with the marketplaces.
Here’s a video guide on how to use Tensor:
Here’s a video guide on how to use Magic Eden:
Collecting Free NFTs
You have your wallet set up, you have some $SOL, and you’re ready to explore. Here are a few things you can do in the ecosystem:
Remember how we said Solana is home to NFTs? You can sign up for Drip Haus to receive free NFTs! You need an invite code or have up to 0.5 SOL to sign up without an invite code. If you need an invite code, DM me on Twitter.
After signing up, you can subscribe to your favourite artists. You can also claim Droplets every 6 hours and thank your favourite artists by using the Droplets you’ve claimed. This gives you a chance to secure a legendary or rare Drip NFT from them.
Here’s a video guide on how to do that:
Keeping Your $SOL Safe
This is the least fun but most important part of crypto. Unfortunately, many wait until after something has gone wrong to start learning about it, so be sure to read this section thoroughly to prevent any unpleasantries.
The Solana Blockchain is decentralised, which means you fully control your assets. Knowing this, scammers target blockchain users in an attempt to steal their assets. Never fear! There are a number of steps you can take to keep your crypto safe.
Always verify websites before connecting your wallet — You will receive scam NFTs. Always verify websites before connecting your wallets by checking out the company or project on Twitter, however there can still be accounts on Twitter, so when in doubt, connect with a wallet with little to no funds initially.
Do not touch links on scam NFTs — As transaction fees are so cheap, you will likely be sent several scam NFTs with sketchy links. Do not click on them.
Do not import your recovery phrase into any site or share it with anyone.
Here’s a video with a comprehensive guide on avoiding common crypto scams. Be sure to give it a watch.
Web3 Gaming
Blockchain games are being developed, and though they are less popular than Web2 games, Web3 gaming will dominate in the future. Popular games on the Solana blockchain are Play the Heist, Star Atlas, Photo Finish, and DeFi Land.
Wrapping Up
Solana is an exciting and rapidly growing blockchain with many opportunities for participants. If you followed this guide, you’ve taken the first step towards joining the Ecosystem.
Good luck in exploring the various projects and future degen activities. Remember to prioritise security and have fun in the ecosystem!
If you want a more in-depth introduction to Solana, I have a beginner and intermediate course on YouTube. Here are the links:
Beginner Course:
Intermediate Course:
Disclaimer: This is a helpful blog. Follow me on my socials, but remember this is NOT FINANCIAL ADVICE. I am making this content as a community member because it is great to learn crypto, playing on Solana is fun, and it is easy to onboard friends into the space with a game like this.
My opinions are my own; research more if you wish, and if you decide to degen, that is your decision!
Follow me on X: https://x.com/SebMontgomery


